
How to Natively Stake SOL
This guide will show you how to natively stake from a funded Solflare wallet. There are two different ways you can stake SOL – liquid staking, and natively staking. Natively refers to traditional staking.
This guide will show you how to natively stake your SOL.
There is a temporary Solana network fee of 0.002 SOL to open each SOL staking account. Once you withdraw and close your stake account, you are refunded back the fee.
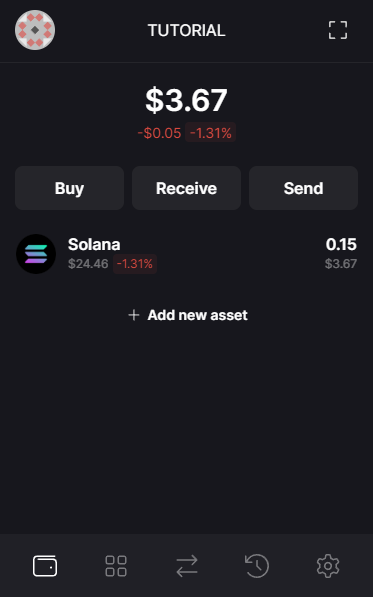
Step 1
- Access your wallet and click on the Solana coin that is the first on your assets list.
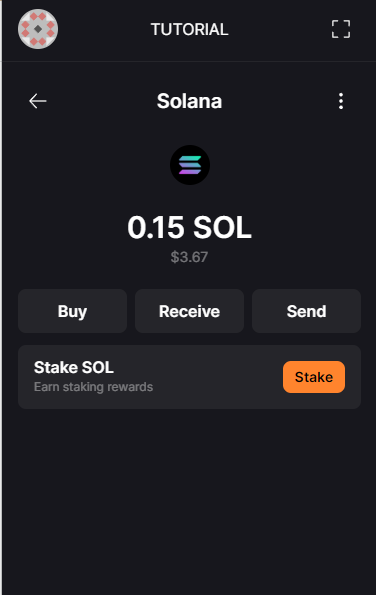
Step 2
- Click on the Stake button.
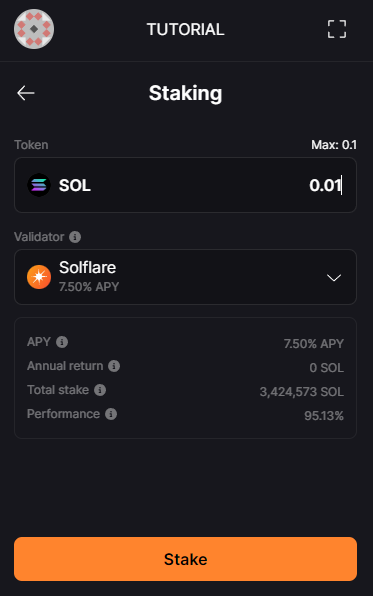
Step 3
- Set the amount you would like to stake.
- You will be displayed the breakdown of the APY, estimated Annual return, Total stake, and the validator’s current Performance.
- Click Stake to continue.
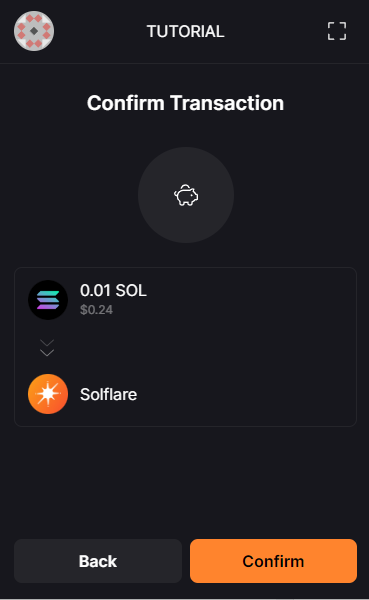
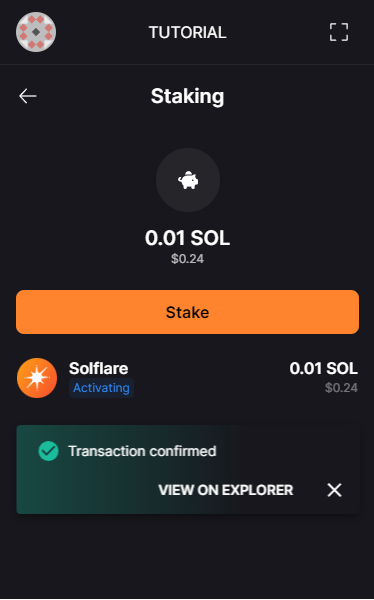
Step 4
- Once you’re all set, click Confirm.
Staking Notes:
- This guide delegates your SOL to a validator. The validator then adds your stake to its pool of SOL and this process can take up to 3 epochs which translates to roughly 6 days. Your rewards won’t start accruing until the moment your SOL is added to a validators stake pool.
- Make sure you set up an amount higher than 0.01 SOL as currently, that is the limitation set by the Solana network.
You’re all set.
Remember, delegated SOL is not immediately effective. Depending on network activity, there may be a 2-3 day delay before your delegated SOL is earning rewards.
You’re still able to undelegate during this timeframe.