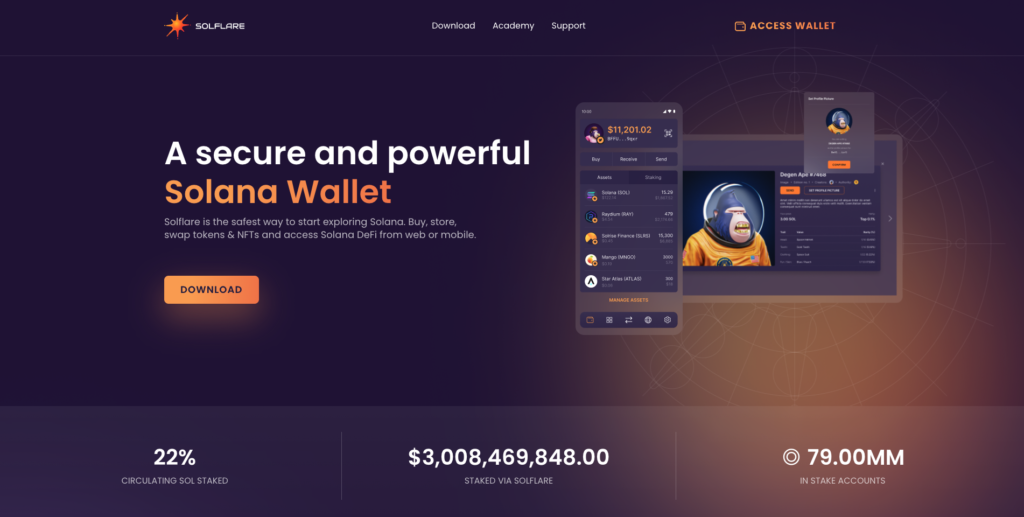
How to Generate a Wallet with a Recovery Phrase
Step 1
- Go to Solflare.com and click Access Wallet.

Step 2
- Click I Need A New Wallet.

Step 3
- Write down your Recovery Phrase and store it in a safe location.
- Once you have done so, click I Saved My Recovery Phrase.
Note: You can download your Recovery Phrase as a .txt file but it is recommended that you encrypt this file immediately if you choose to download it.

Step 4
- Type in each word of your Recovery Phrase and click Continue.
Note: If you downloaded it as a .txt file, you can upload it here rather than type it in manually.

Step 5
Set a passcode for your wallet. This step appears after you’ve confirmed your Recovery Phrase above.
Whether you choose to set a passcode, click Continue when you’re done.

That’s it!
You’ve now successfully setup a Solflare wallet. If you want to see what you can do with it, check out the guides and articles in the Knowledge Base.

Extra
We ship new features often and have a lot in store for the Solrise ecosystem of products. Follow us on Twitter to stay on top of it.
